Showing posts with label crafting with nature. Show all posts

Saturday, April 21, 2012

Blog Giveaway at Wooly Moss Roots!


It's Springtime, and the birds are busy building nests in trees, shrubs, barn eaves and marsh grasses all around us. I, too, have been busy building nests in my craft room. I am giving one away over at the Wooly Moss Roots blog this week, so head on over there and put in your entry:

 
Entries are open this Saturday through Wednesday, April 25, and the winner will be announced on Thursday. You can also fnd more of these nests, along with needlefelted wool art, seasonal fairy dolls, gemstone bead jewelry, and kitchen items made of recycled wool sweaters in my online shop:
Folks who visit the Wooly Moss Roots blog can find a coupon code for 10% off in my shop through the week after the giveaway.

I also feel I would be holding you all back from a wealth of inspiration if I didn't encourage you to visit Taryn's blog in general. Wooly Moss Roots , is a delightful account of a family's simple homesteading life in the coastal mountains of Oregon. She shares beautiful photographs, recipes, ideas, and reminders of gratitude for all the things we love in life. She and her husband, Jeff, are amazing handcrafters and artists, and you can find their work at their Mystic Orb booth at the Eugene Saturday Market, as well as on their online shops: Mystic Orb Shop, and Wooly Moss Roots Shop. You can also read more about their homesteading life and art from Jeff's point of view on his blog: Mystic Orb.

Friday, November 4, 2011

Mushroom Hunting


With the rain and mists of Winter in Oregon comes one of my favorite reasons to go out in the woods. Mushrooms. Wildcrafting for fungi is a delightful way to spend a November afternoon, and my enjoyment of these excursions often carries over into crafting inspiration.


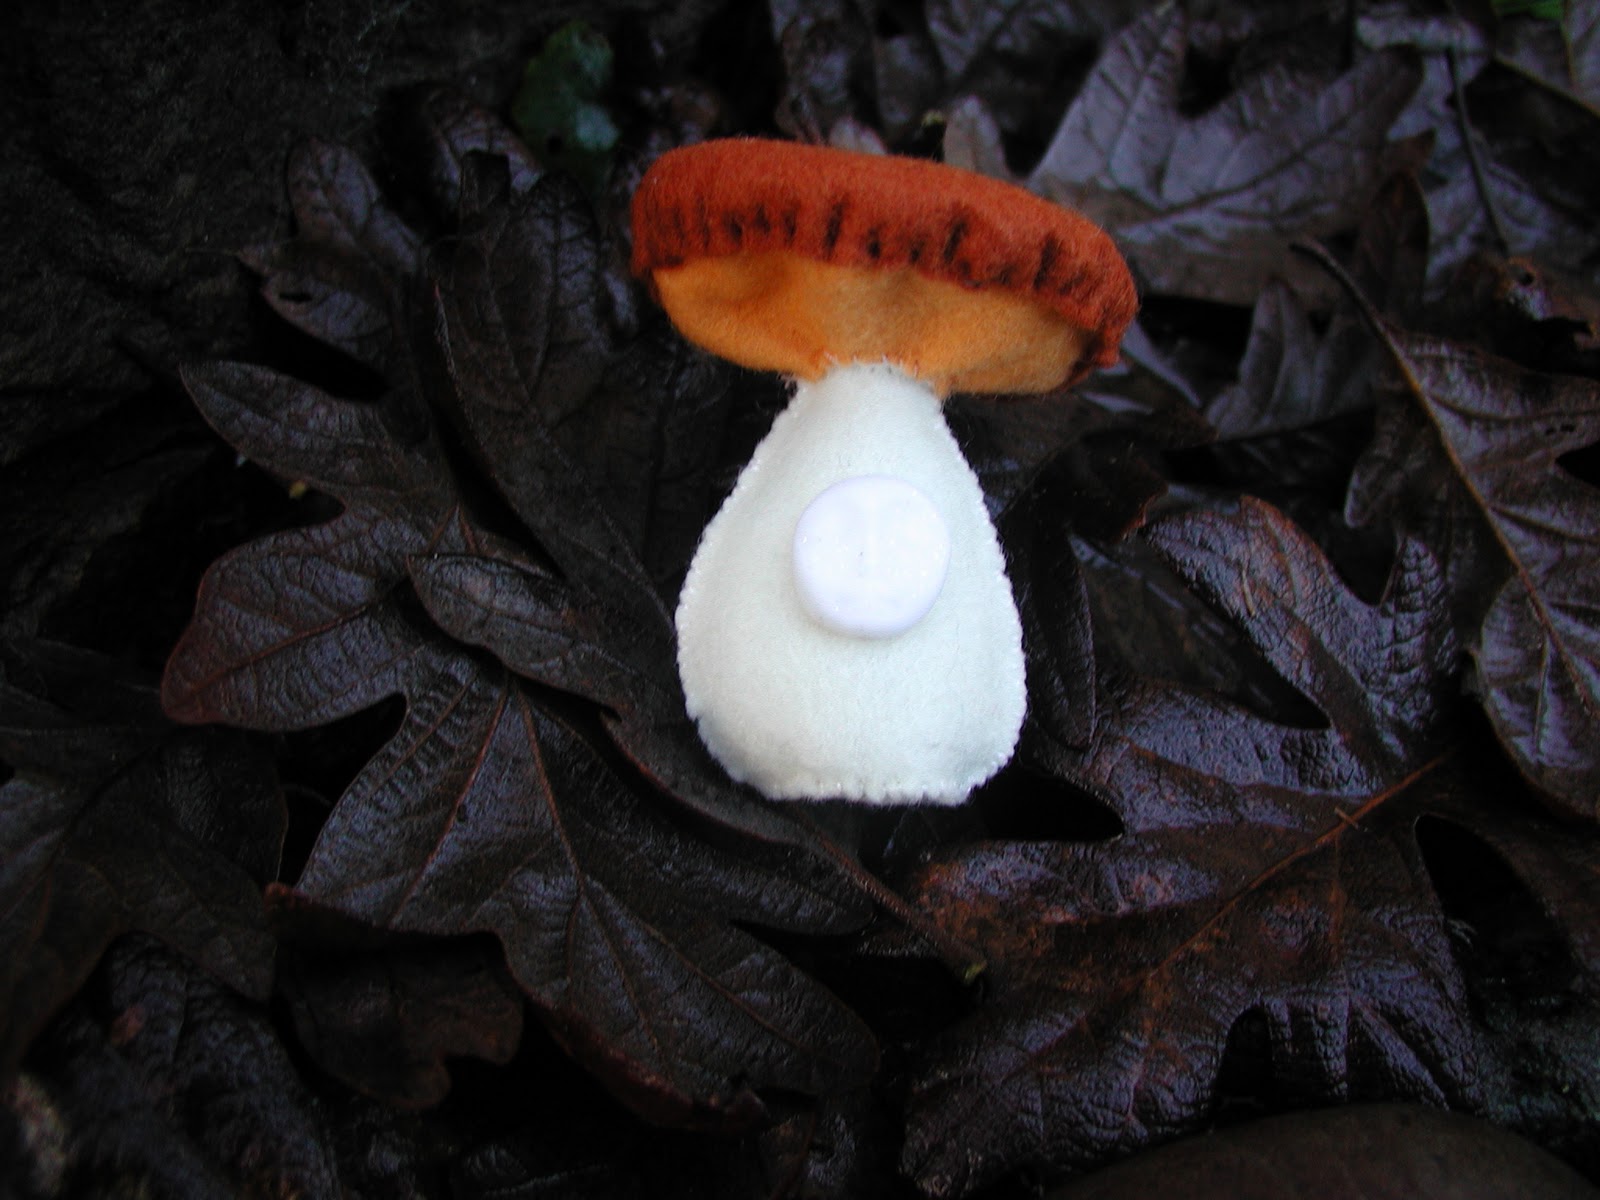
With Chanterelles piled all over my counter, in my dehydrator and in many of my meals last year, I started making these little Chanterelle mushroom folks. I found just the right color of orange wool felt, and stitched up their wavy little caps.


I made little translucent white faces from clay to give them a little extra character.


Here's my King Bolete among the oak leaves.


And  brightly colored Amanita toadstools are a lot of fun to play with. Just remember not to eat them.

It's good to take time to enjoy the fungus among us.

You can find more of these little mushroom folks in my Etsy shop here at:

Friday, April 1, 2011

A Full Nest


I just finished this custom handmade nest for a woman with eight grandchildren who wanted one felted egg to represent each. I was just so tickled by this, I had to share it.

Every Spring I make these nests out of European beach grass roots, an invasive species that is causing our local sand dune ecosystem to disappear. Habitat restoration was my main focus in college, and I still can't help taking out these problematic plants when I see them. I love hearing about folks making invasive plant species into art! My friend Jeff over at Mystic Orb makes these great wooden buttons out of Scotch broom stalks!

So, I take these unwanted plants, make them into a nest, add a few bits of moss and lichens I find on the ground under our ancient oak tree, and wet felt some little wool eggs, and...Voila! We have eco-friendly art.

You can read more about my handmade birds' nests on a blog post I wrote last Spring called:

And find them on my Etsy shop at: http://mountainhearth.etsy.com/

Thursday, May 13, 2010

Building a Nest


I just have to say that I have been having a grand time lately making birds nests for my Etsy shop. As I get settled in this year in our first home, a solid 1934 farmhouse, it seems fitting somehow that I should create nests. I find something very inspirational about roots, and I have been using invasive European beach grass roots (a fine example of eco-friendly crafting and invasive species control working hand-in-hand), washed up seashore tree roots, moss and little bits of lichen to make these lovely nests. I wet felt some eggs out of beautiful blue wool, and that is the finishing touch on this all natural art project.


I love birds nests. I was always making little nests when I played out in the woods and fields as a child. I would use grass, mud, sticks, whatever I could find to make homes for the birds. I was sure if I did a fine enough job, I would trick those birds, and they would move in! Now I always seem to find old abandoned birds nests on the ground and I have them displayed in various places all over the house. They bring me a lot of joy.


My friend, Taryn, just wrote a wonderful post on her blog about nesting with a photo of one of my nests. Check it out here at: Wooly Moss Roots, "Nesting"

Tuesday, February 23, 2010

Collecting Stones for Making Felted Wool Pouches


If you've been wanting to do some wet felting with wool, creating a pouch using a river rock or beach stone as a form is a fun project to get started with. This is a great project for adults and children alike. It involves a nature outing as well, which is an added bonus. I usually go to a river with rocky gravel bars when the water isn't too high for them to be exposed. This can be incorporated with a summer trip to your favorite swimming hole, or a fall river hike. Look for smooth rounded rocks of harder composition, like granite for example. Avoid soft rocks with lots of clay or sandstone, as they might sluff off in your wool while you're working with them. Another good place to look is on a beach, especially near the mouth of a stream. I try to collect a variety of shapes to make different forms. Make a day outing of it and bring a picnic!


Next comes the crafting fun. Gather together your stone of choice, some wool roving, a button, dishsoap (I like to use Dr. Bronner's in a good smell like lavender or eucalyptus), a plastic bag, a dish of warm water, and towels to spread out underneath. First wrap the wool all around the stone, packing it tightly and making sure to thickly cover the whole surface. Then, spread out a towel and put your dish of warm water on it. Use your fingers to scoop and sprinkle warm water on the wool covered stone until it is fairy wet. The squirt a little soap on all around it. Now put the stone in the plastic bag and rub it between your hands all over, turning it around and around for about 10 minutes. Then look to see how bonded together the wool fibers are. You can add more soapy water and keep rubbing it until it has become more like wool fabric. Then cut a slit off to one side of the top and pull the stone out. You can rub the raw edges between your fingers with soapy water to felt them up a little too. Then stretch and pull the top flap down so it folds slightly over the side of the pouch. At this point I let the pouch dry for about a day. Then cut a small button hole slit in the top flap and sew a button on beneath it. Voila! You have a handmade pouch. Try this with your different shaped stones to get different shaped pouches. Let your creativity go wild!